Hi! I’m Alison from Instagram & YouTube. I’m a sewist, vlogger and Brand Ambassador for baby lock UK.
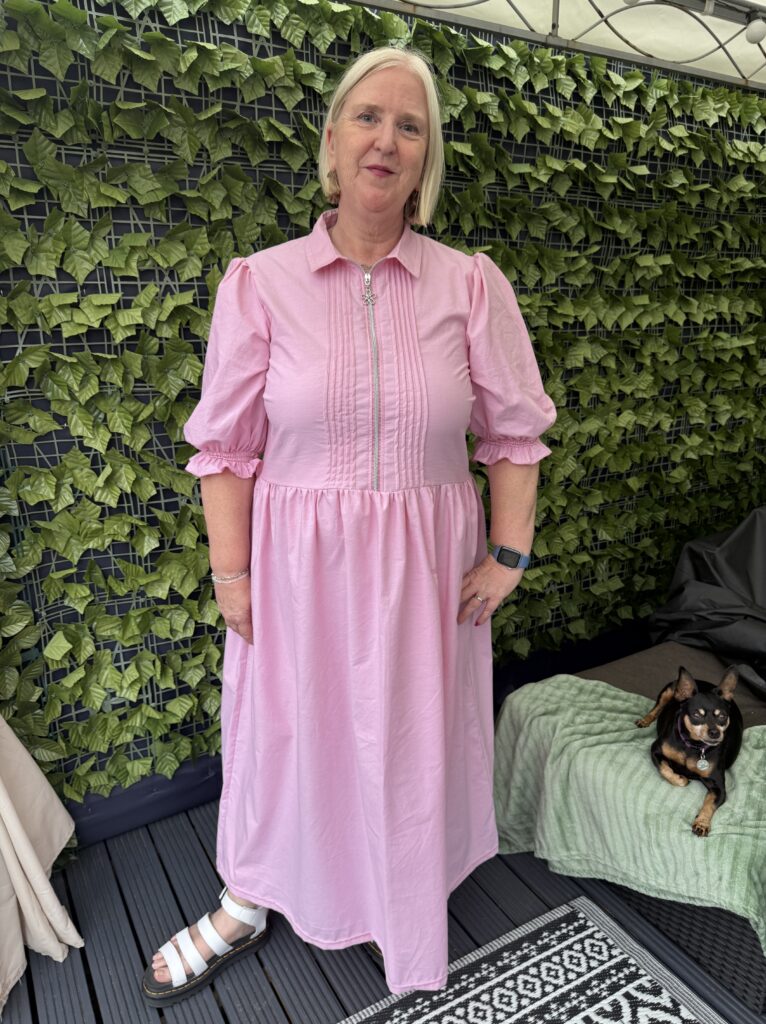
One of my favourite sewing patterns launched in the last year was The Aspen Dress from Fabric Godmother. I got the pattern immediately and made 2 classic versions in chambray and cotton poplin but I also had this lingering inner voice saying ‘I wonder how that will look with a pintuck hack’. In this make I added pintucks, gathering, shirring and rolled hems using my baby lock machines.
Here’s the link to my YouTube vlog on this dress if you would like to check it out
I already own a baby lock Euphoria cover stitch machine, baby lock Acclaim and enlighten overlocker. I use them every time I sew and feel they speed up my threading, sewing and finished garment quality. I’ve been so lucky to have a baby lock Primo on loan for several months too – this machine just really elevates your sewing game with all the additional top cover stitch options. The Pintuck Foot is an optional purchase for both the Euphoria and Primo machines and is also available for the coverlock/combination machines too like the Aspire, Ovation and Gloria
Introduction:
I cut out the fabric several months ago – then a little procrastination set in. Does that happen to you too? I think I was concerned not with making the pintucks as that’s really easy to do, but more with how they would lie; especially the ones I was planning for the front bodice.
I’ve shared more details about this process on my YouTube channel.
PREPARING THE PATTERN/FABRIC
I chose a light weight pink chambray from Higgs and Higgs. It was more lightweight than I had hoped but has been perfect for the hot summer days. It holds a crease well and so was perfect for the pattern and the pintuck hack.
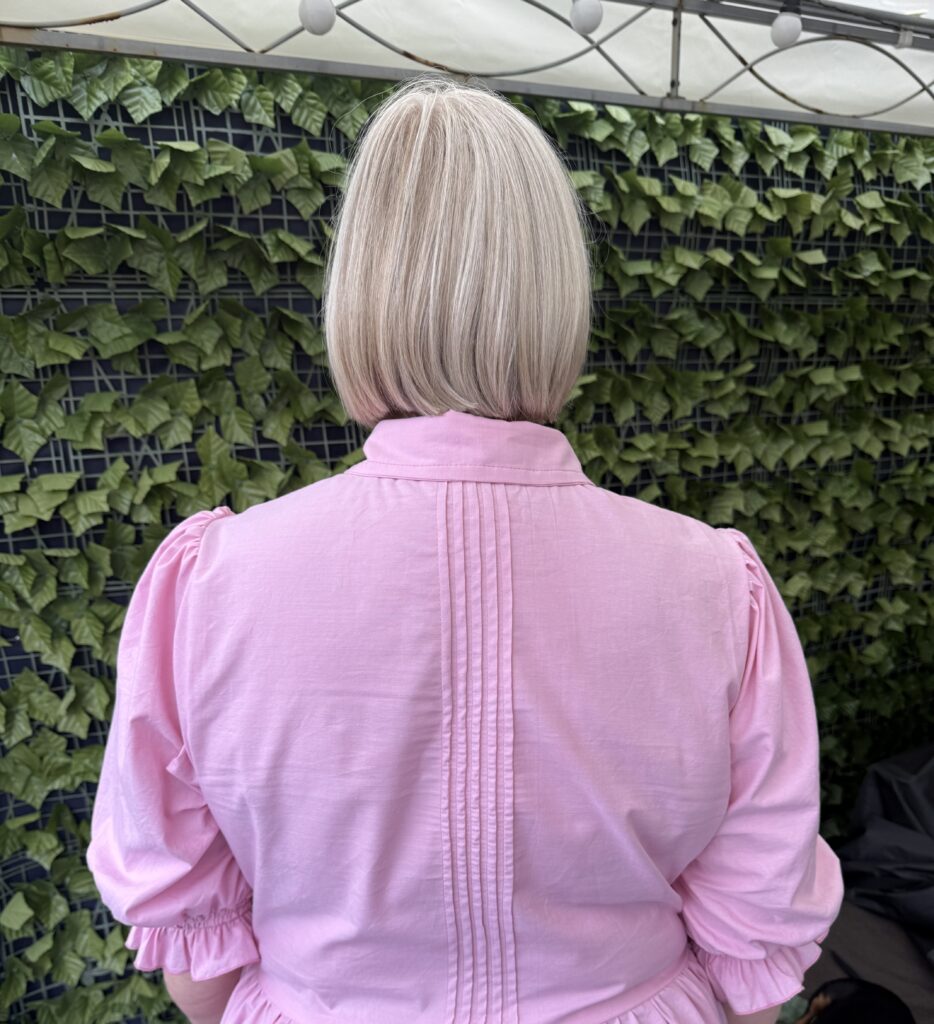
I chose to do the pintucks in the centre back panel, front bodice and sleeves. Though later I didn’t go ahead with the sleeves;
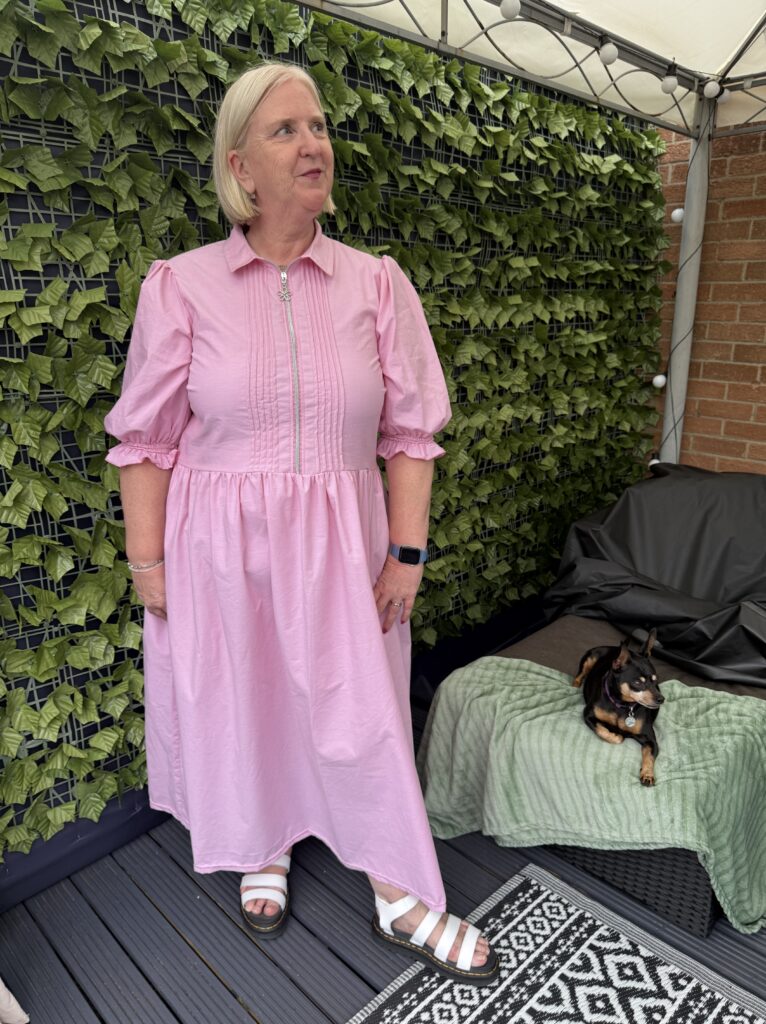
I do like the sleeve pattern from The Fleur Dress from Fabric Godmother which switches into the Aspen perfectly.
My initial thoughts were to do vertical pintucks from the bust darts and I cut some rough pattern shapes for this, I soon realised this was the wrong place.
I cut out larger than needed pieces approx. 30% for the front and back bodice.
For the back bodice I ironed in a central crease line and used this as my first pintuck line.
For the front bodice I started 2 inches away from the centre of the front (where the zip would be inserted,) again pressing a line on each piece.
For the sleeves I cut them both out and added 3 inches to the bottom of each sleeve.
Setting Up the Machine for Pintucks
This is very easy- I used the quick user guide set up for a wide coverstitch. Using needle positions C1 and C3 and air threading the looper. The machines have auto tension too so no need to adjust anything which is perfect.
I chose thread colours to complement the fabric, however, you could thread your needles with a bold thread for a more dramatic effect. You won’t see the looper thread on the finished garment if your fabric is opaque.
Change the foot to the Pintuck Foot and insert the adaptor into the front of the machine. As you are sewing the adaptor creates the pintuck as there is a groove in the base of the foot that the fabric goes through. Super easy!
I simply chained on and off at each end of the fabric and used the edge of the foot to follow the previous row.
I did 5 pintucks in the centre of the back and 5 on either side of the front bodice, I then pressed the pintucks in place.
At this point I decided to do something a little different with the sleeves.
I then laid on the bodice pattern pieces and cut them out and progressed with the pattern as normal. Once cut out I used fray check on the start and end of each row to prevent the stitching from unravelling.
Gathering with the Overlocker
This is one of my favourite things to do. To gather I set the differential feed to 2 and stitch length to 4. I was using my baby lock Acclaim machine, which has air threading for both the needles and loopers, plus auto tension. No other adjustments were needed.
I joined the skirt pieces together and finished the seams as normal with the overlocker, then I used the gathering settings above and overlocked around the waist creating the gathers.
With the sleeve pieces I overlocked around all edges except the hemline. When reaching the gathering notches simply move the differential feed to 2 and return it to N at the next gathering notch.
Gathering Tips
1. If you need to increase the gather to fit the top, simply use a pin to lift the 2 needle threads from the chain and draw them up; this helps you to increase the gather much like you would if you had used your two lines of ease stitching on a sewing machine.
2. By adjusting the Differential Feed you can increase or decrease the volume of gathers; try 1.8 or 1.5 for less gathers.
3. You can also gather on a cover stitch machine in the same way, but you are unable to manually increase the gather as you can with the overlocker stitch.
Have a play on scrap fabric; I promise you will love it!
Adding some Shirring
I added 3 lines of shirring to the bottom of each sleeve starting approx. 1 inch from the hem using the normal foot. I did this using the cover stitch machine. Using needle C1 and shirring elastic in the looper; I bypassed the looper tension and used the threading wire to pull the elastic through. Using the edge of the foot as a guide, I followed the line of the previous row to create straight lines; chaining on and off the fabric at the start and finish of each row.
Hemming and a Rolled Hem
Once the garment was constructed I hemmed the dress using a wide cover stitch and hemmed each sleeve with a rolled hem – I absolutely love the rolled hem finish and it’s so easy to achieve on the baby lock machines: simply remove the left needle if still in; select stitch selector C or D; turn the stitch length dial to the rolled hem setting using a stitch length of your choice; I like 1, and then set your stitch width to the M; which is the standard setting for a rolled hem.
Have you tried sewing pintucks, shirring, or rolled hems yet? Let me know in the comments or tag me in your makes! 💬
Share