Unravelling the mystery of Differential Feed!
So all overlockers…except the exceptionally OLD overlockers…….have a secret weapon; the Differential Feed.
This function is designed to control the feed of fabric through the machine.
Unlike anything to be discovered on a sewing machine, the Differential Feed is a significant advantage.
Overlockers have a noticeably longer foot than sewing machines, which causes a fair amount of huffing when attempting to navigate a curve. This is because overlockers have, not one, but TWO sets of feed dogs.
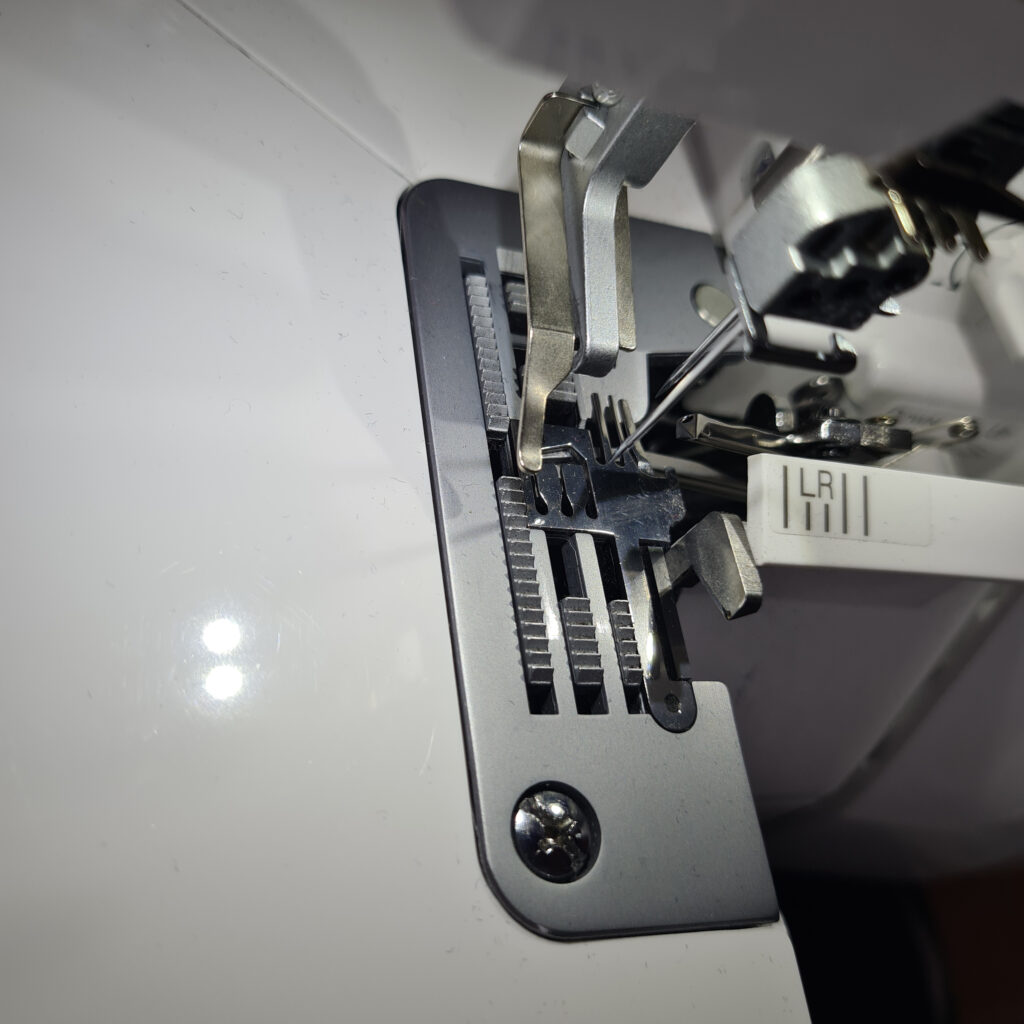
The furthest of these feed dogs always travels at a steady speed. However, the front feed dog is the proud possessor of a braking and accelerating ability. (Officially, it moves closer or further from it’s partner, but I find it easier to grasp the truth if I call it ‘slower’ and ‘faster’, as I am no engineer.)
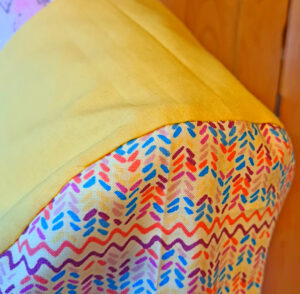
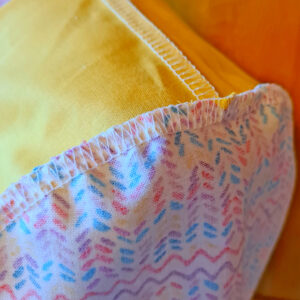
So, the baby lock DF is calibrated from .6 all the way up to 2. When set at 2, we see the front feed dog feeding the fabric through at twice the speed that the back feed dog is pulling it out. This, (with the addition of maximum stitch length) will have the effect of gathering the fabric.
When using a light to medium weight fabric, a 10 inch strip will be reduced to around 5 inches, which makes it really easy to calculate how long to cut your frill! Obviously, the same principle will apply to lace also.
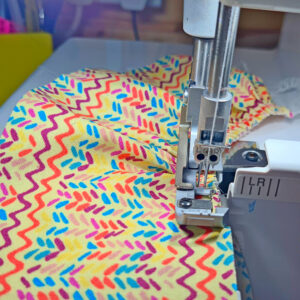
If I am making a frill for a certain length, I will double that length, plus, say, 10% I then cut off the excess.
The calibration is a ratio system, so if your lace/frill is 15”, then set the DF to 1.5 in order to gather it to a 10” strip.
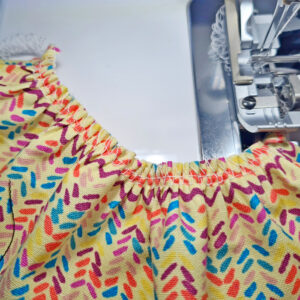
WAVY SEAMS?
Sometimes, a particular fabric will be stretched when stitched. This can happen on lightweight jersey, lycra etc. You’ll notice that when you stitch the seam, it comes out wavy. To compensate for this, flick the DF lever up to 1.3 or 1.5 to counteract this.
PUCKERED SEAMS?
If the fabric (sometimes happens on chiffon or organza) puckers a little on stitching, then set the DF in the opposite direction; i.e. to .6. This serves to stretch the fabric and counteract the puckering.
EASE STITCHING ON A SLEEVE HEAD
Many garment patterns require something called ease stitching at the centre of the sleeve head. This gathers the sleeve slightly to fit it into the armhole. Tried on a sewing machine? It can be tricky, as the thread often breaks when you are trying to pull the fabric into slight gathers. It is, however, much simpler on your overlocker;
- EASY Clear the stitch finger (remove, by rocking the balance wheel, the chain wrapped around the stitch finger on the needle plate). Slide the sleeve head in from the side, positioning the needle at the ease stitch start. When you reach the mark for the ease stitching to finish, turn the fabric 90 degrees and drive off. Trim the chain to approximately 1”. Unravel the thread chain and pull the shortest of the threads (needle threads). You’ll find they will easily gather the sleeve head to the desired size.
- The sleeve is stitched in flat, BEFORE sewing it into a tube) Place the sleeve head UNDERNEATH the armhole. Ensure that the centre of the sleeve is marked, as well as the notches for the beginning and end of the ease stitching. With the DF at N, overlock until you reach the first notch. Click the DF lever up one step and watch to see that the centre will line up with the shoulder seam (The lower layer will be slightly gathering) If it looks as though you need a bit more gather, put the DF up one more step. Once you’ve hit the centre, slowly bring the DF back down, until by the last notch you are back to N. Cut a dummy sleeve head and armhole and check it. I promise it works!
Share